
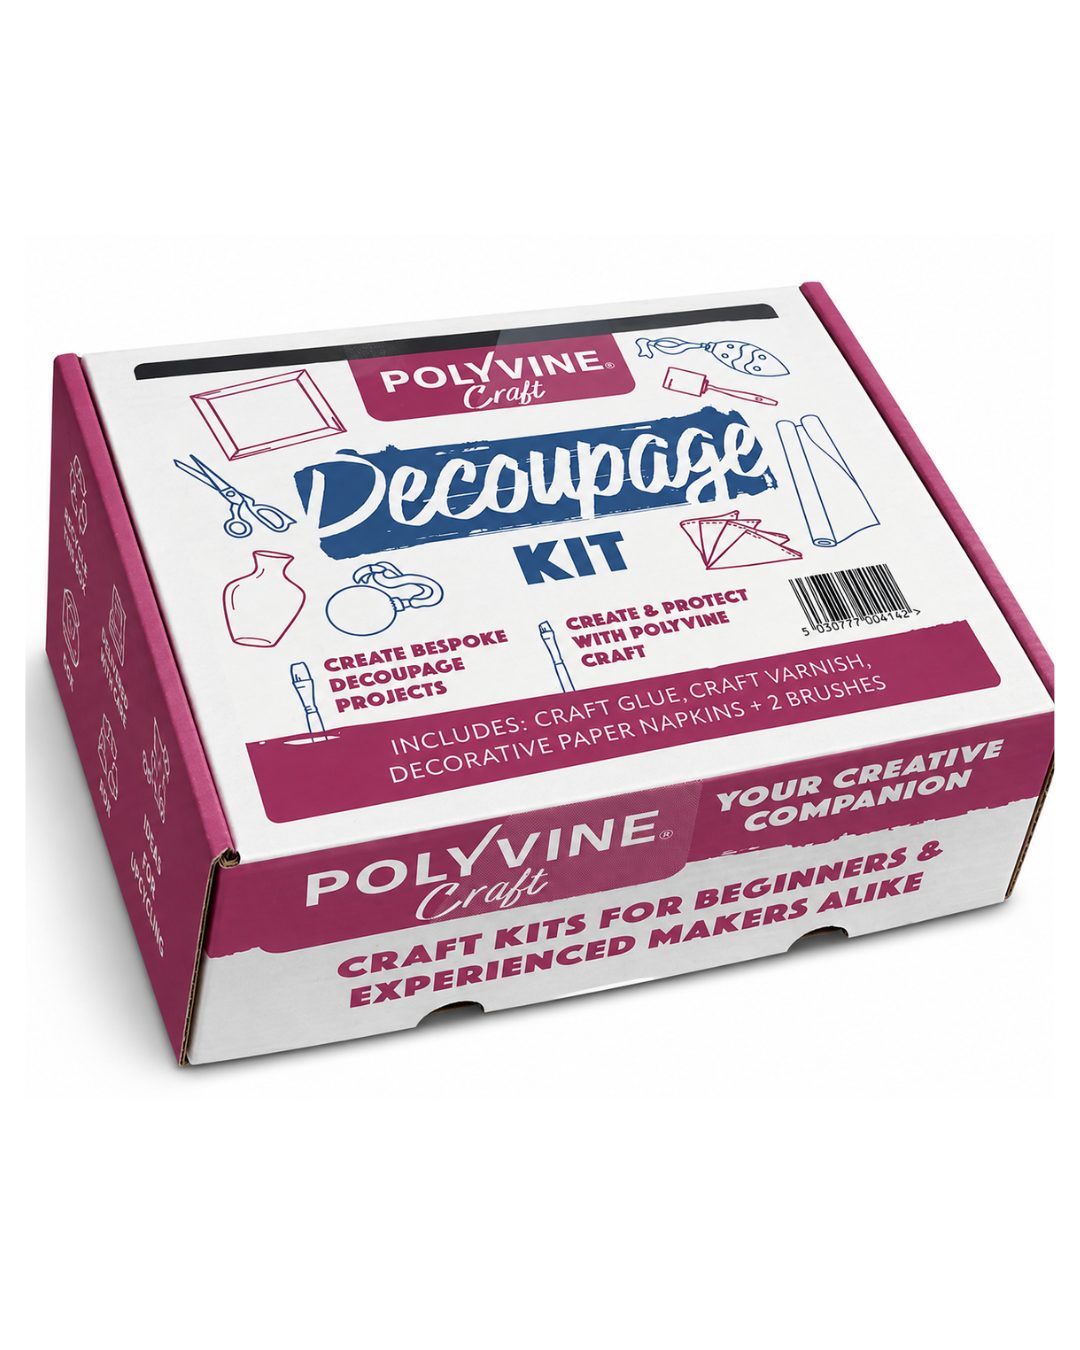
How to Decoupage: A Complete Beginner’s Guide to Getting Creative
Discover how to transform everyday objects into beautiful, personalised pieces with the art of decoupage. From furniture and home accessories to handmade gifts, this simple craft opens up a world of creative possibilities.
Have you ever looked at an old wooden box, a plain plant pot or a piece of furniture and thought it could do with a little personality?
That’s where decoupage comes in.
Decoupage is one of those wonderfully versatile crafts that allows you to transform something ordinary into something completely unique. Whether you’re a complete beginner or an experienced crafter looking for fresh inspiration, it’s an enjoyable way to experiment with colour, pattern and design.
And the best part? You don’t need expensive equipment or years of experience to get started.
In this guide, we’ll explain exactly how to decoupage, share our favourite tips for achieving a beautiful finish and explore some creative projects you can try at home.
What is decoupage?
Decoupage is a decorative craft technique that involves applying cut-out paper designs, printed napkins or other lightweight decorative papers to a surface using a suitable adhesive. The design is then sealed with a protective finish.
The word decoupage comes from the French word découper, meaning ‘to cut out’.
Although the technique has been enjoyed for centuries, decoupage continues to be a popular choice for modern crafting, furniture upcycling and personalised home décor.
From delicate floral designs and vintage-inspired patterns to bold contemporary prints, the possibilities are almost endless.
In simple terms, decoupage is the art of decorating an object with paper and sealing it to create a finished decorative surface.
It’s a particularly appealing craft because you can start with something you already own and give it a completely new look.
What do you need for decoupage?
One of the reasons decoupage is so accessible is that you only need a handful of materials.
To get started, you’ll need:
- An object to decorate: such as a wooden box, picture frame, plant pot or decorative tray.
- Decorative paper or napkins: choose a pattern, print or design that suits your project.
- Decoupage glue: a suitable adhesive to bond the paper to your chosen surface.
- A soft craft brush: for applying the glue and gently smoothing the design.
- Craft varnish: to seal and protect your finished creation.
- Scissors: for cutting out patterns and individual designs.
- A clean, dry cloth: to help prepare the surface before decorating.
Optional extras include fine sandpaper, acrylic paint for creating a coloured background and a small detail brush for more intricate work.
Make it easy with the Polyvine Craft Decoupage Kit
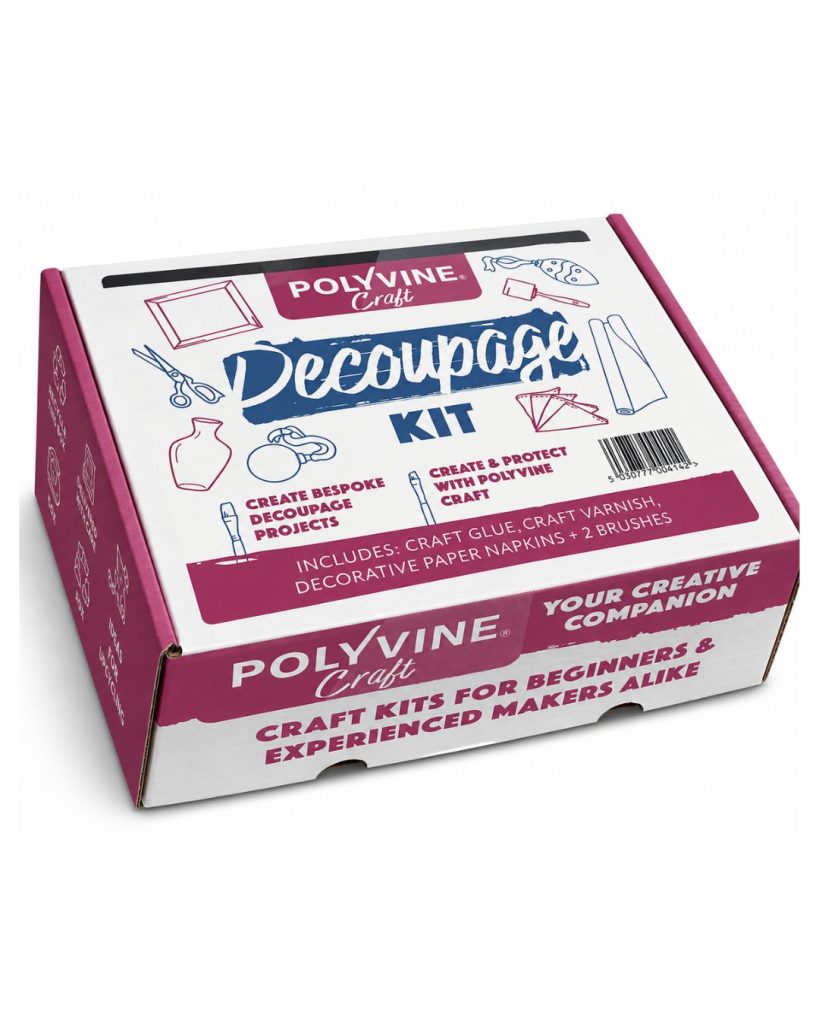
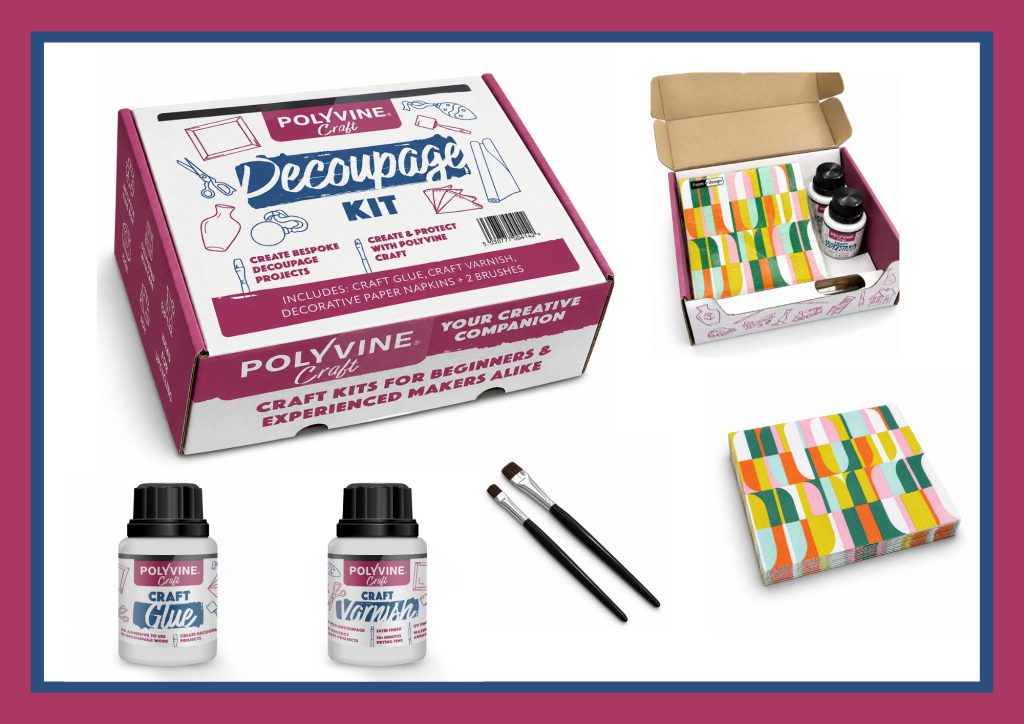
If you’re new to decoupage, our Polyvine Craft Decoupage Kit is a great place to start.
We’ve brought together the key materials you need in one convenient kit, making it easier to get creative without having to source everything separately.
Each kit includes:
- Polyvine Craft Craft Glue
- Polyvine Craft Craft Varnish
- A selection of decorative paper napkins
- Two craft brushes
With the essentials ready to go, all you need to do is choose your project and let your creativity take over.
How to decoupage: Step-by-step instructions
Ready to give it a go? Follow these simple steps to create your first decoupage project.
Step 1: Choose your object and prepare the surface
Start by selecting the item you’d like to decorate.
For beginners, we recommend choosing something relatively small with a smooth, flat surface, such as a wooden coaster, decorative box or picture frame.
Make sure the surface is clean, dry and free from dust, grease or loose material.
If you’re working with unfinished wood, lightly sanding the surface can help create a smoother base. Remove any sanding dust before continuing.
You can also paint the object first to create a background colour. A light-coloured base works particularly well with thin decorative napkins, helping the pattern stand out.
Allow any paint to dry fully before applying your design.
Our tip: If you’re using a particularly delicate napkin design, try it against a white or pale background first. The colour underneath can make a surprising difference to the finished appearance.
Step 2: Choose and prepare your design
Now for the creative part!
Choose your favourite decorative napkin or paper pattern and decide how you’d like it to appear on your object.
You might want to cover the entire surface with one continuous pattern or cut out individual flowers, leaves, shapes or motifs to create your own arrangement.
If you’re using printed paper napkins, carefully separate the layers. Most decorative napkins have multiple plies, and you’ll generally want to use only the top printed layer.
This creates a thinner design that blends more naturally into the surface.
For individual motifs, you can cut around the design with scissors or gently tear the edges for a softer, less defined appearance.
Our tip: Arrange your designs on the object before reaching for the glue. This gives you a chance to experiment with positioning and make sure you’re happy with the overall look.
Step 3: Apply your decoupage glue
Using a clean craft brush, apply a thin, even layer of Polyvine Craft Craft Glue to the area where you’d like to position your design.
Work in manageable sections, particularly if you’re decorating a larger object.
Avoid applying too much glue at once, as excess moisture can make delicate napkins more difficult to handle.
Carefully place your chosen design onto the glued surface.
Step 4: Smooth your design into place
Once the paper is positioned, gently smooth it down using a soft brush, working from the centre outwards.
This helps remove trapped air and reduces the likelihood of wrinkles.
Take your time here. Thin napkin paper becomes delicate when wet, so use light pressure and avoid repeatedly brushing over the same area.
A few tiny creases can add character, particularly if you’re creating a vintage or handmade effect.
Our tip: Don’t worry if your first attempt isn’t completely perfect. Decoupage is a craft that becomes easier with practice, and experimenting is all part of the fun.
Step 5: Allow the glue to dry
Once your design is in place, leave it undisturbed until the glue has dried.
Avoid touching or adjusting the paper while it’s drying, as this can cause lifting, tearing or wrinkles.
Drying conditions will vary depending on the surface, the amount of glue applied and the room temperature. Always follow the instructions on your chosen product.
If you’re layering multiple designs, allow the previous layer to dry before adding more.
Step 6: Seal and protect with craft varnish
Once your decoupage design is completely dry, it’s time to finish your project.
Apply Polyvine Craft Craft Varnish using a clean brush, working carefully across the decorated surface.
A suitable varnish helps protect the paper design and gives your finished piece a more complete, professional-looking appearance.
Apply thin, even coats, allowing each coat to dry as directed by the product instructions.
For projects that need additional protection, follow the varnish manufacturer’s guidance on suitable coats and curing before handling or using the finished item.
Our tip: Always test your varnish on a small sample first, particularly when working with delicate printed designs or unusual materials.
And there you have it! Your very own decoupage creation.
What can you decoupage? 10 creative ideas to try.
One of our favourite things about decoupage is how easily it can transform everyday objects.
Whether you’re looking to refresh something around the house, create a handmade gift or simply enjoy a relaxing afternoon crafting, there’s no shortage of inspiration.
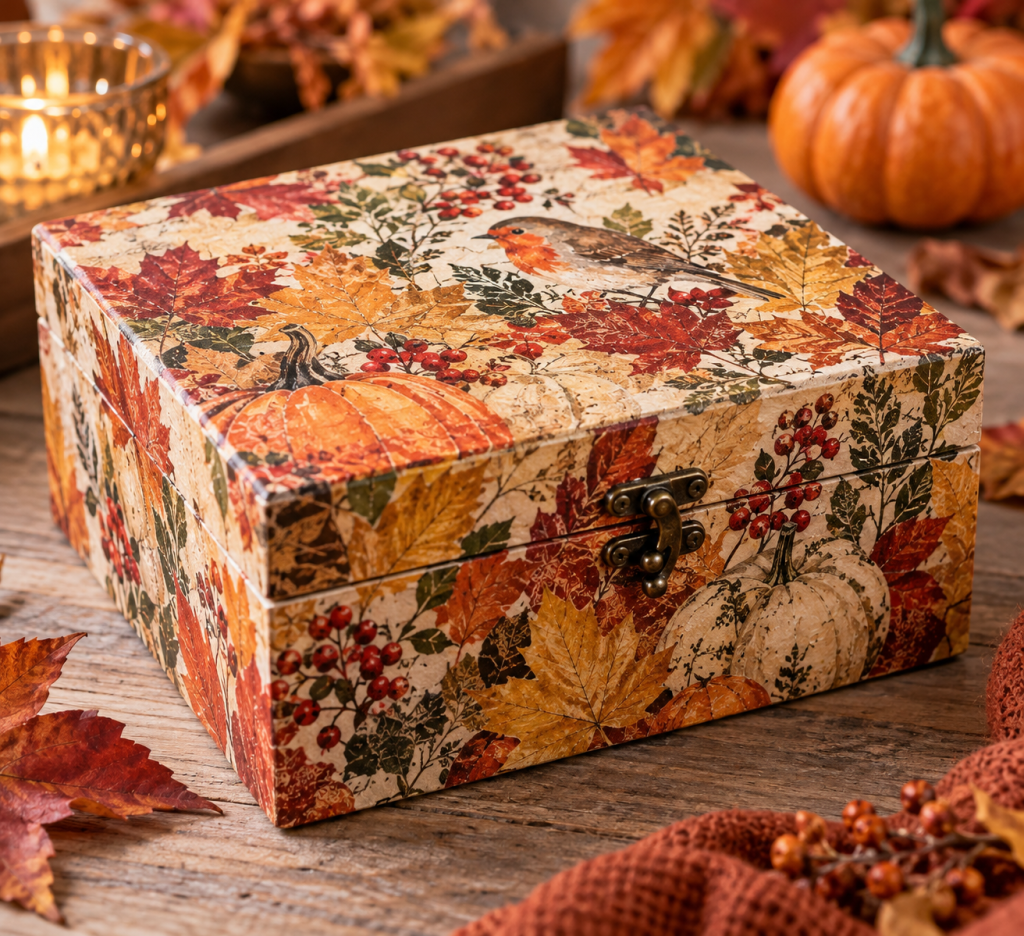
1. Wooden boxes
Turn a plain wooden box into a decorative keepsake using floral napkins, vintage patterns or colourful prints. Perfect for jewellery, photographs and treasured little possessions.
2. Plant pots
Give plain decorative plant pots a fresh look with botanical prints, bold colours or delicate floral designs. For indoor decorative use, protect the design from direct moisture and use a separate inner pot.
3. Picture frames
Personalise an ordinary picture frame with paper patterns that complement your home décor. These also make thoughtful handmade gifts.
4. Decorative trays
Create a beautiful display tray using a patterned paper design. Ideal for holding lightweight decorative objects. Avoid direct contact with food, hot items or standing water unless the complete finishing system is specifically approved for those uses.
5. Upcycled furniture
Give a tired bedside table, drawer front or small cabinet a new lease of life with carefully chosen patterns.
Decoupage can be a fantastic way to introduce decorative details without completely repainting an entire piece.
6. Christmas decorations
Create personalised Christmas baubles, hanging decorations, wooden stars and festive ornaments using seasonal napkin designs.
They’re lovely to display at home or give as handmade presents. Read about our Christmas Decoupage Kit.
7. Decorative glass jars
Repurpose clean glass jars into decorative storage containers or displays using carefully positioned paper designs.
Check that your chosen adhesive and coating are suitable for glass before starting.
8. Bookmarks and stationery
Use decorative papers to personalise bookmarks, notebooks and handmade stationery.
A simple project that’s ideal for practising smaller designs.
9. Coasters
Transform plain coaster blanks with patterns that complement your home. Choose a suitable surface and finish, and remember that ordinary craft varnish should not be assumed to provide heat or water resistance for hot drinks.
10. Seasonal home accessories
From Easter decorations and springtime displays to autumn pumpkins and festive ornaments, decoupage is a brilliant way to update your décor throughout the year.
The beauty of decoupage is that no two projects need to look the same. A single napkin design can be used in countless different ways.
Get inspired: Decoupage with Georgina Burnett
Sometimes the easiest way to learn a new craft is to watch someone else bring it to life.
That’s why we’ve teamed up with creative expert and presenter Georgina Burnett to showcase just how enjoyable and versatile decoupage can be.
In her latest reels, Georgina gets hands-on with the Polyvine Craft Decoupage Kit, demonstrating how simple materials and a little imagination can transform everyday objects into something special.
Whether you’re looking for inspiration for your first project or want to pick up a few new creative ideas, her demonstrations are a great starting point.
Watch Georgina Burnett’s latest decoupage reels on the Polyvine Craft Instagram Page and discover what you could create.
Our top tips for beautiful decoupage results
Even though decoupage is a beginner-friendly craft, a few simple techniques can make a real difference to the finished result.
Less glue is often more
Applying too much glue can oversaturate delicate paper, increasing the risk of wrinkles and tearing. Start with a thin, even layer and work carefully.
Start small
If you’re trying decoupage for the first time, begin with a manageable project. Flat wooden surfaces are generally easier to work with than curved or heavily textured objects.
Think about your background colour
Thin napkins can become slightly translucent when glued down. A light background can help colours and patterns appear brighter.
Experiment with layering
Try combining individual motifs to create your own arrangement. Flowers, leaves, lettering and geometric designs can all work beautifully together.
Be patient with drying
Allowing each stage to dry properly helps avoid lifting and damage when applying subsequent layers or varnish.
Choose the right surface
Not every material behaves in the same way. Porous materials such as unfinished wood may require different preparation from glass, plastic or previously painted surfaces.
Always check product suitability and test an inconspicuous area before beginning.
Protect your finished creation
Decoupage is about creating something beautiful, but it’s also important to think about how the finished item will be used.
Decorative objects, furniture and frequently handled accessories can have very different protection requirements.
Choose a suitable varnish and follow the product’s application instructions to help preserve your design.
Common decoupage mistakes and how to avoid them
Wrinkled paper: This can happen when too much glue is applied or the paper becomes oversaturated. Use thin layers and gently smooth from the centre outwards.
Torn napkins: Decorative napkins are very delicate once wet. Handle them carefully and avoid overworking the design with your brush.
Visible paper edges: Try gently tearing around motifs rather than cutting them, particularly when working with floral or vintage designs.
Air bubbles: Position the paper gradually and smooth it carefully as you go. Work in smaller sections on larger projects.
Peeling or lifting designs: Make sure the surface is clean and suitable for the adhesive, and allow sufficient drying time before sealing.
A cloudy or uneven finish: This can result from unsuitable application conditions, excessive product or insufficient drying between stages. Follow the varnish instructions and test your finishing method first.
Frequently asked questions about decoupage
Is decoupage easy for beginners?
Yes. Decoupage is a beginner-friendly craft that involves applying decorative paper to an object with glue and sealing the finished design. Small, flat projects such as wooden boxes and picture frames are particularly good starting points.
What is the best paper to use for decoupage?
Decorative paper napkins are a popular choice because they’re thin and can blend beautifully into the surface. Specialist decoupage paper, tissue paper and certain lightweight printed papers can also work well.
How do you decoupage with napkins?
Separate the printed top layer of the napkin, cut or tear out your chosen design and carefully place it onto a thin layer of decoupage glue. Smooth gently, allow it to dry and finish with a suitable protective varnish.
Can you decoupage on wood?
Yes. Wood is one of the most popular materials for decoupage. Make sure the surface is clean, smooth and dry before starting. Unfinished wood may benefit from light sanding or a suitable basecoat.
Can you decoupage on glass?
Yes, provided you use products suitable for glass. Smooth, non-porous surfaces may need specialist preparation or an appropriate adhesive. Always check compatibility and test first.
Do you need special glue for decoupage?
A glue suitable for decoupage is recommended, particularly when working with delicate paper napkins. Polyvine Craft Craft Glue is included in our Decoupage Kit alongside the other essential materials.
Do you need to varnish decoupage?
Varnishing is recommended when you want to seal and protect a completed design. A suitable craft varnish can help protect the decorative paper from everyday handling and provide a finished appearance. The level of protection will depend on the varnish and intended use.
How do you stop napkins wrinkling when decoupaging?
Use a thin layer of glue, place the napkin carefully and smooth it gently from the centre outwards. Avoid using excessive pressure or repeatedly brushing wet paper. Small wrinkles may still occur, especially on curved surfaces.
Can you decoupage over painted surfaces?
Yes, provided the paint is fully dry, properly adhered and compatible with your glue and varnish. Painted backgrounds can be particularly effective when creating contrasting or complementary colour combinations.
How long does decoupage take to dry?
Drying time depends on the adhesive, paper, surface and environmental conditions. Allow the glued design to dry completely before varnishing and follow the manufacturer’s instructions for drying and curing times.
Can you use decoupage on furniture?
Yes. Decoupage can be used to decorate furniture, including drawer fronts, cabinets and small tables. Preparation and an appropriate protective finish are particularly important for frequently handled or high-wear surfaces.
What is the difference between decoupage glue and craft varnish?
Decoupage glue is used to adhere decorative paper to a surface. Craft varnish is applied afterwards to seal and protect the finished design. Although some specialist products combine these functions, using separate products allows you to approach each stage individually.
What comes in the Polyvine Craft Decoupage Kit?
The Polyvine Craft Decoupage Kit contains Craft Glue, Craft Varnish, a selection of decorative paper napkins and two brushes. It’s designed to provide the essential materials for trying decoupage at home.
Why we love decoupage at Polyvine Craft
At Polyvine Craft, we believe creativity should be enjoyable, accessible and full of possibilities.
Decoupage brings together so many things we love about crafting: experimenting with new ideas, giving existing objects a fresh look, creating handmade gifts and discovering just how much can be achieved with a few simple materials.
It’s also a wonderful way to slow down, enjoy a little creative time and make something that’s entirely your own.
As a British manufacturer with 40 years of experience developing specialist paints, varnishes and decorative finishes, we’re passionate about helping people bring their creative ideas to life.
Our Polyvine Craft range has been developed with makers, hobbyists and creative enthusiasts in mind, combining practical products with endless opportunities for inspiration.
Ready to give decoupage a try?
Whether you’re decorating your first wooden box, upcycling a piece of furniture or creating a thoughtful handmade gift, decoupage is a brilliant way to explore your creativity.
With the Polyvine Craft Decoupage Kit, you’ve got the essential materials to get started, and with a little inspiration from Georgina Burnett’s demonstrations, you’ll soon be discovering just how many things you can transform.
Explore the Polyvine Craft Decoupage Kit, watch our latest creative demonstrations and start planning your next project at www.polyvinecraft.com.
Because sometimes, all it takes is a little paper, a brush and a big idea.